
First DIY article for the page and how better to start than by lowering the wagon.

Here we have the wagon at stock height in the rear.
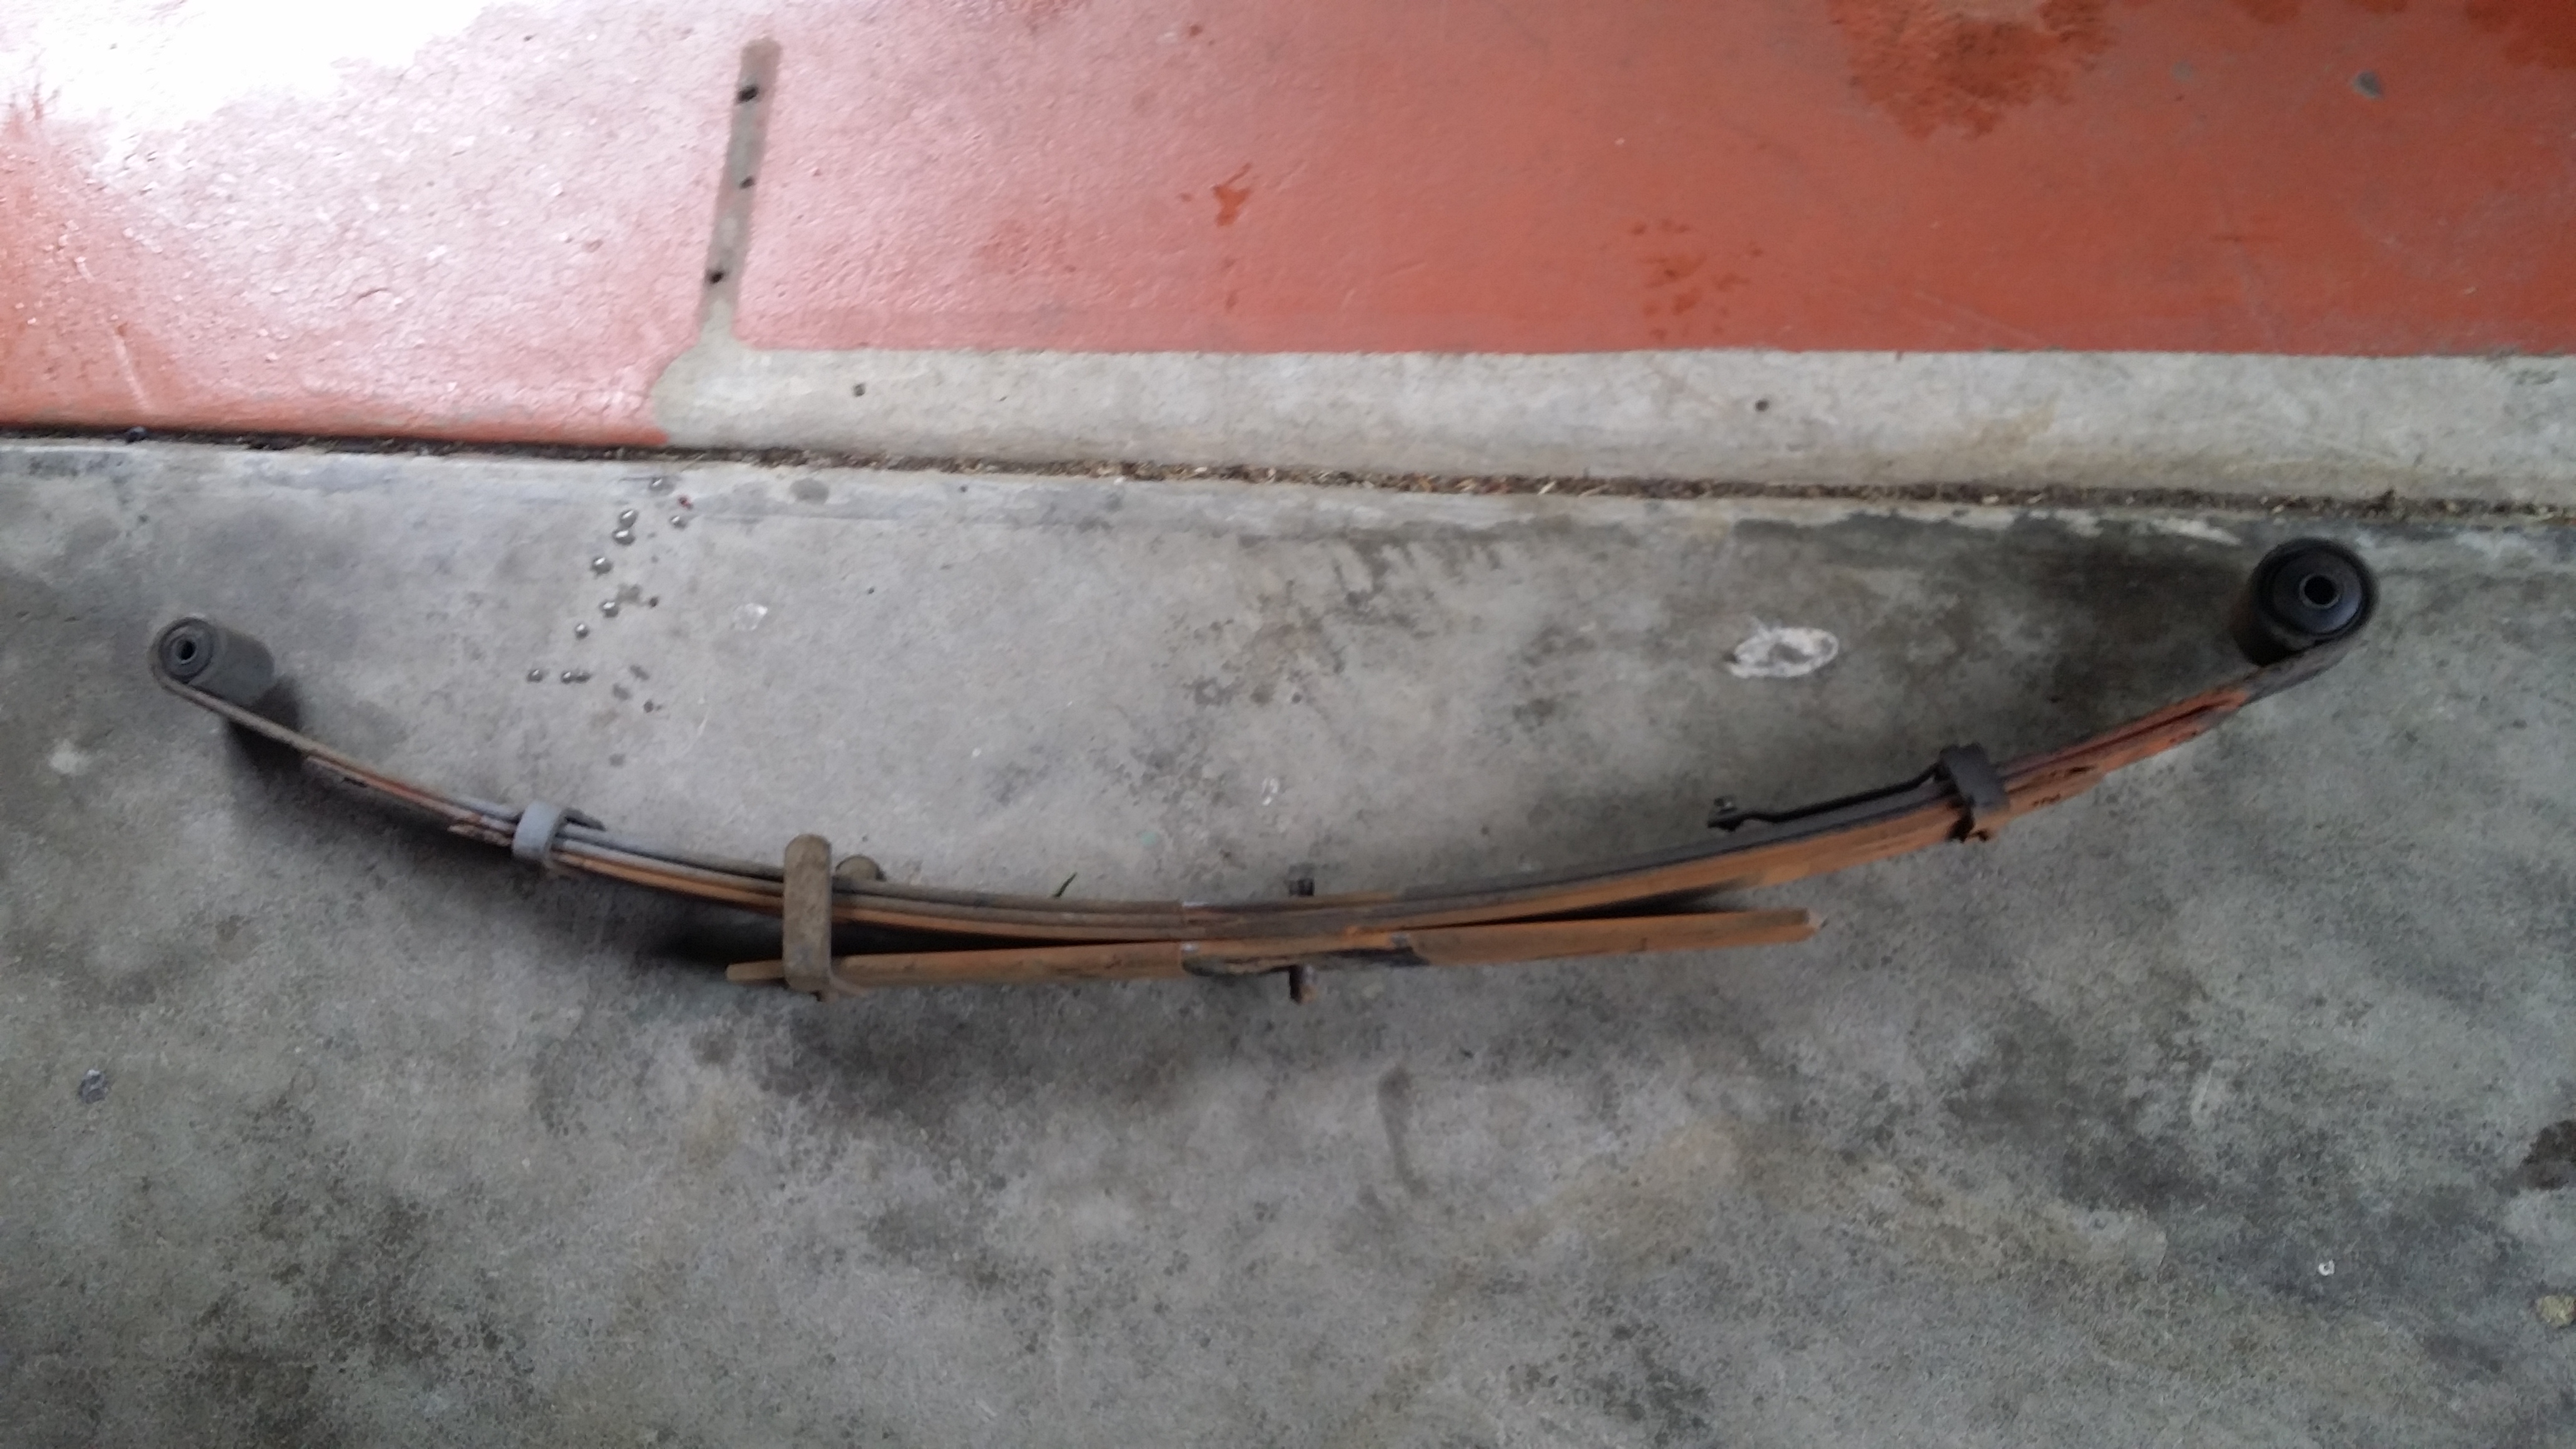 This is how the standard rear leaf spring set-up looks.
From the top down we have the spring eyes attached to the Master leaf, then the next two are the graduated leaves held together with the rebound clips. Underneath we have the bottom plate, holding everything together is the retaining bolt.
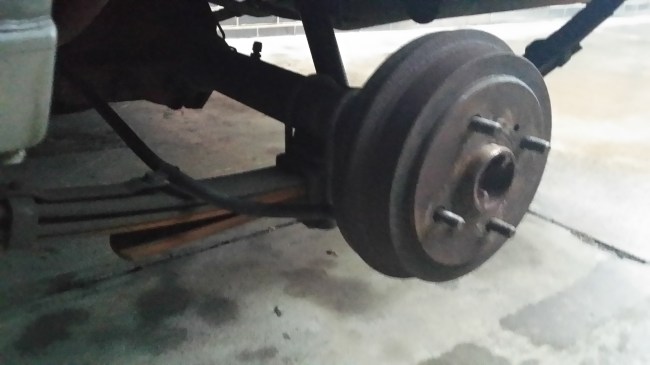
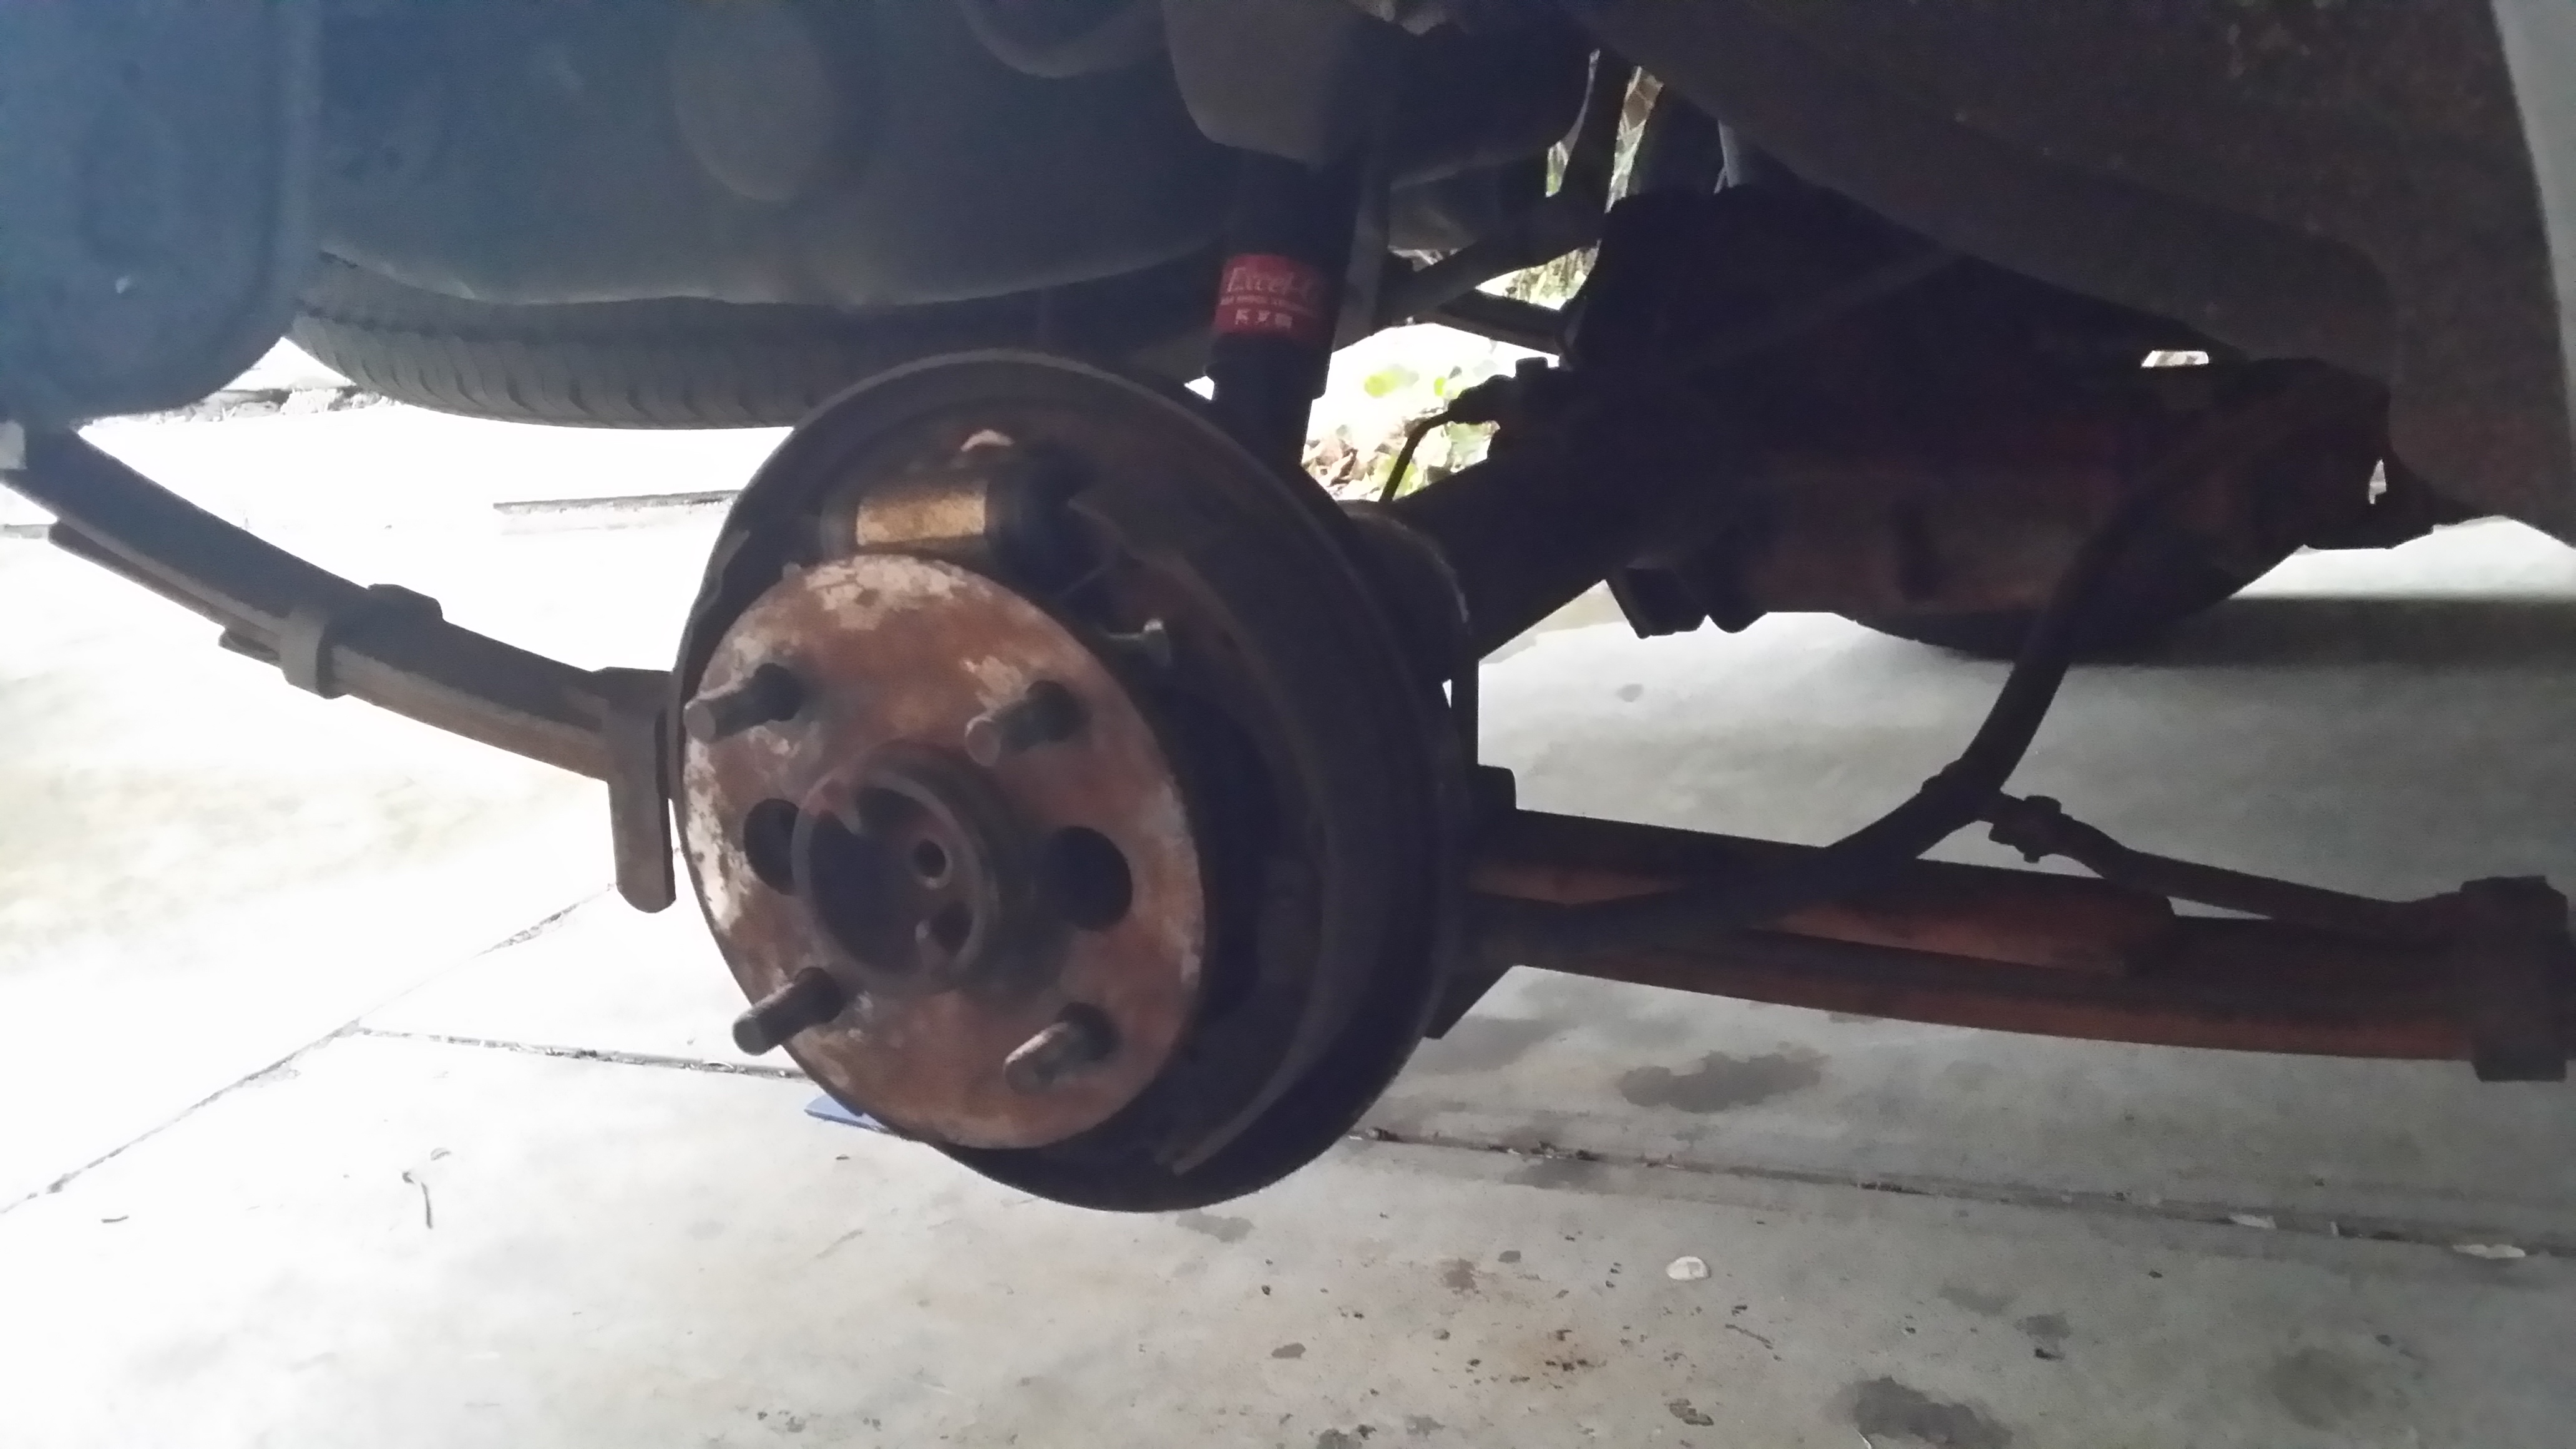
Installed in the vehicle with only the wheel removed, this is how the stock leaf spring setup is mounted.
To drop the rear a bit, you must remove the leaf spring setup form the axle and the body (I recommend if you are planning on undertaking this task for yourself, ensure you have the appropriate tooling available beforehand and always try to grab a mate for support and just in case the worst happens and something goes wrong).
Then clamping the spring pack together, remove the retaining bolt and slowly release the clamps on the spring pack (avoid standing in front of the spring pack as you release it).
Once released, move the bottom plate to the top of the spring pack and compress again, slide the retaining bolt through the plates to ensure correct alignment. Once completely compressed, tighten the retaining bolt back up and once again slowly release the spring pack to ensure the retaining bolt is holding.
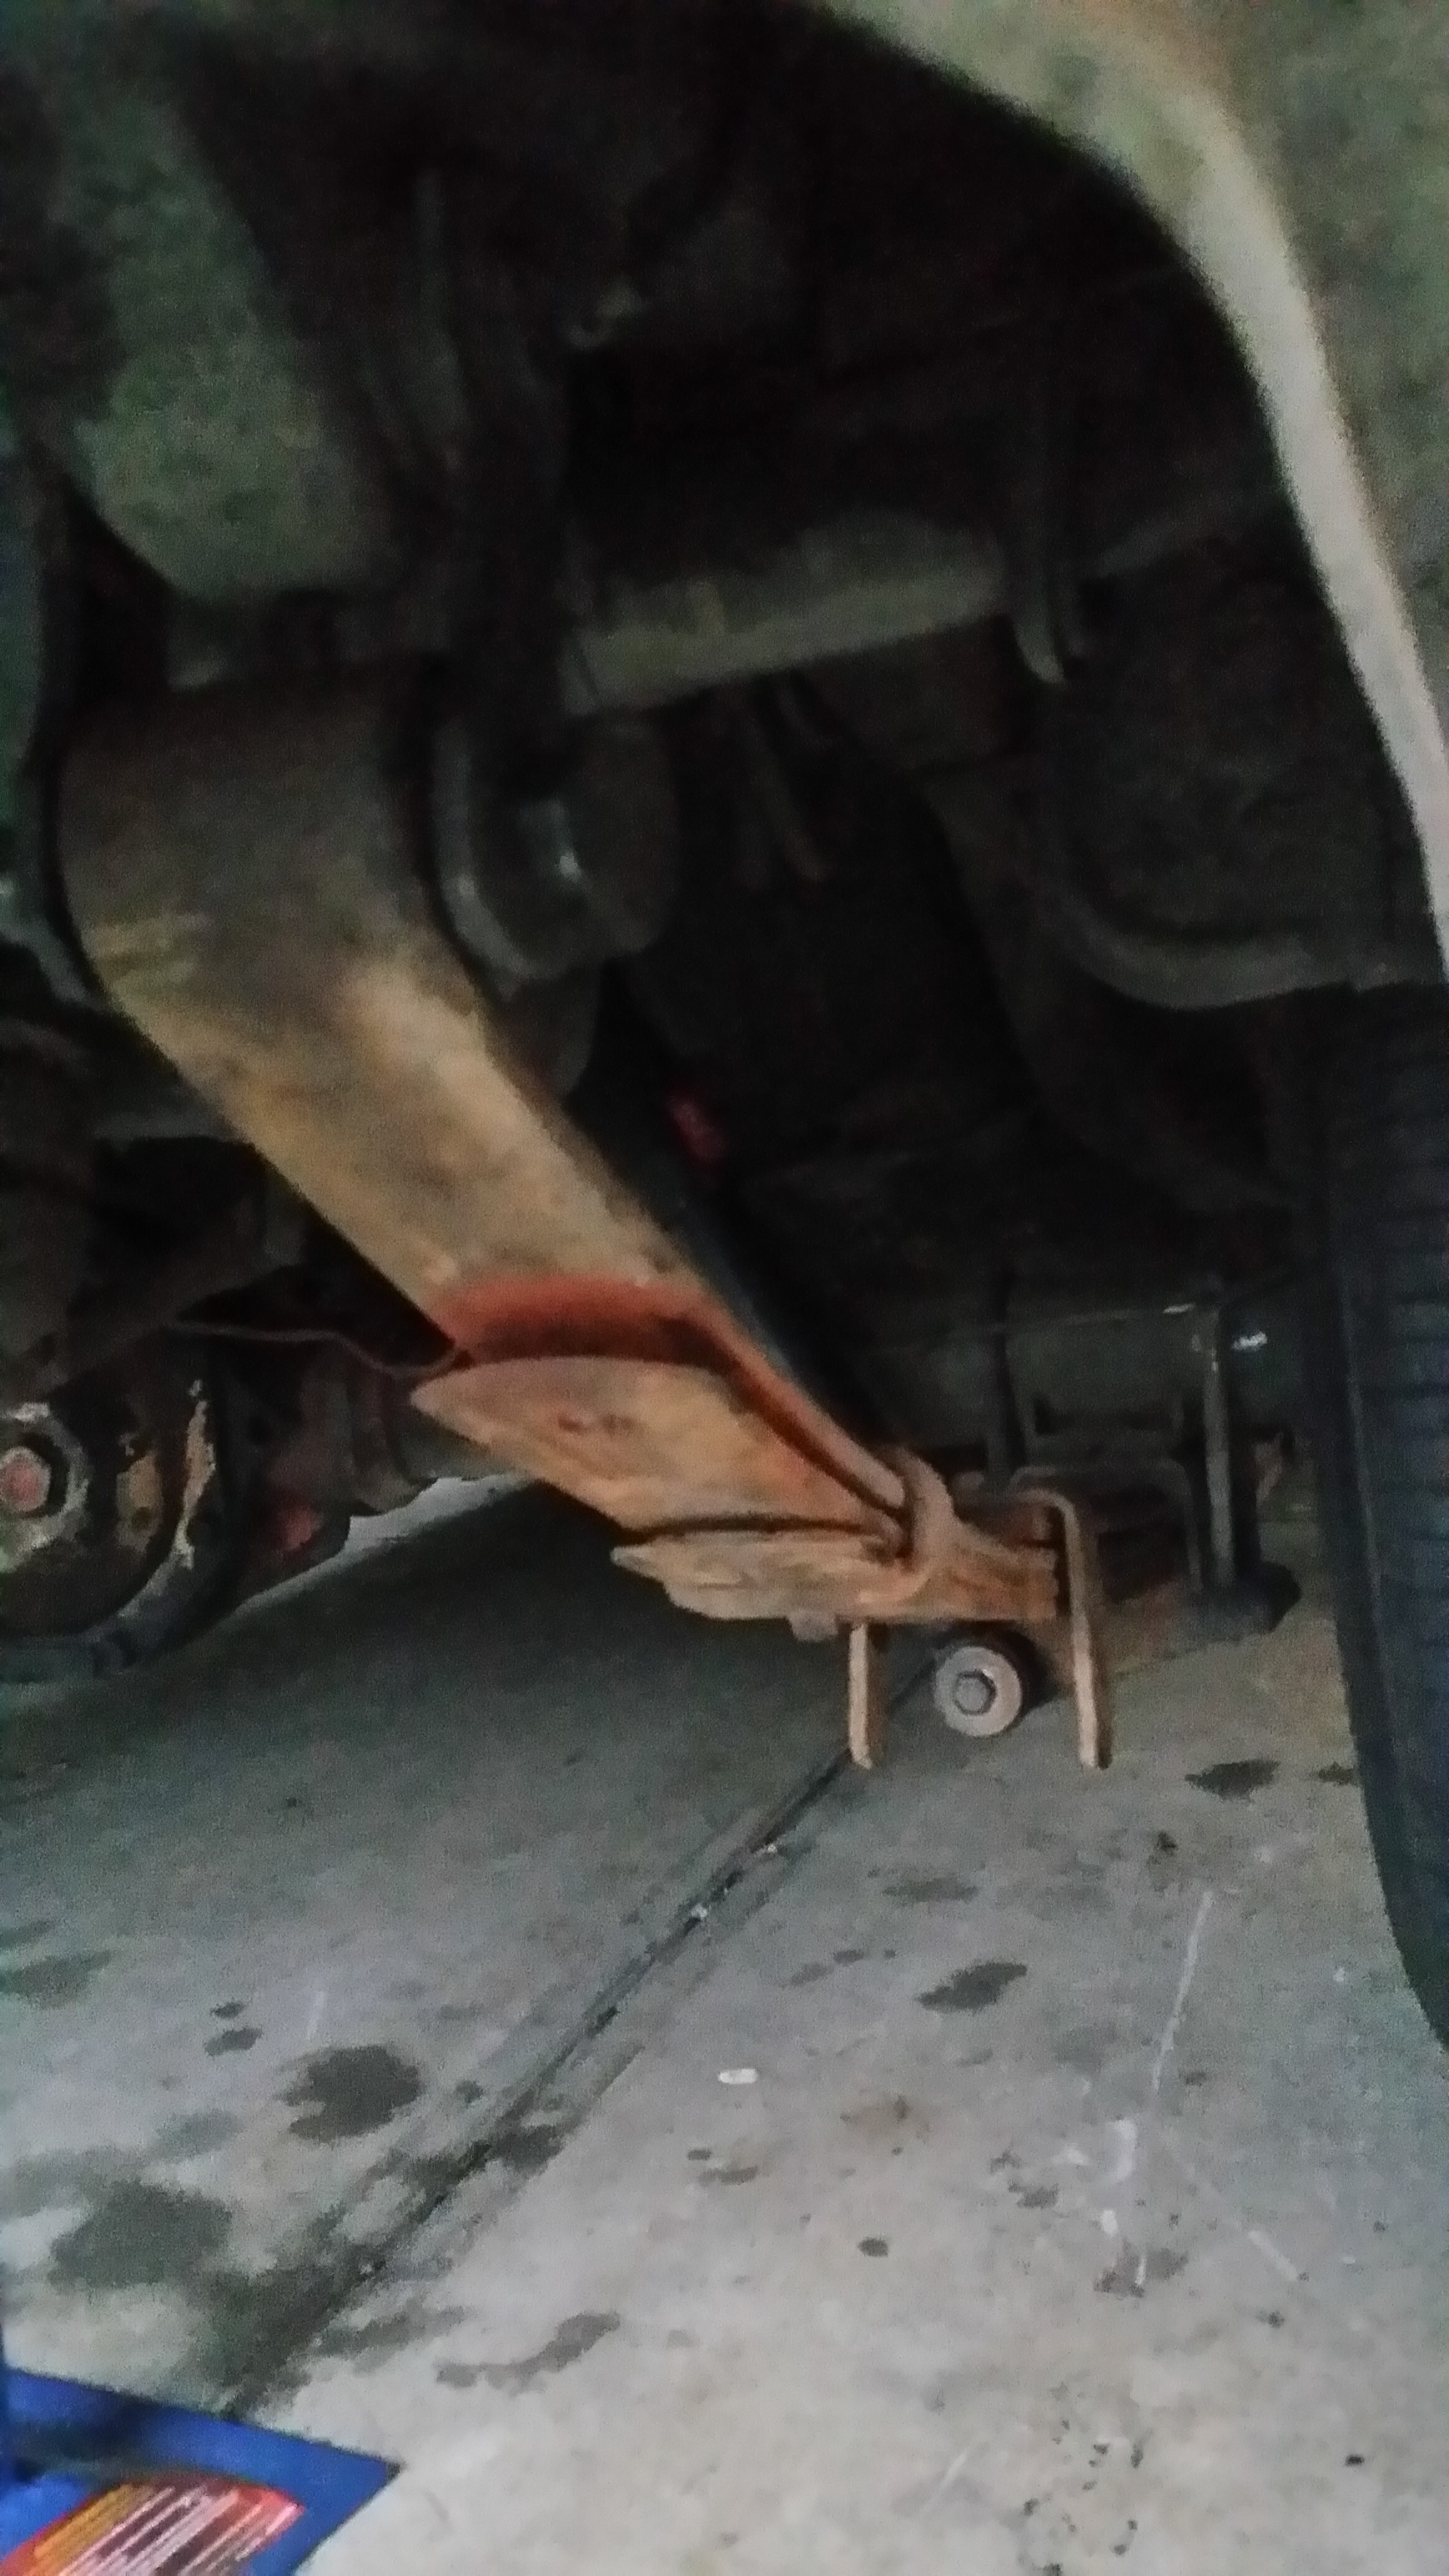
The altered spring pack fitted back into the wagon. and now to repeat for the other side.
View from the rear. Sorry about the picture quality (fading light and phone camera),
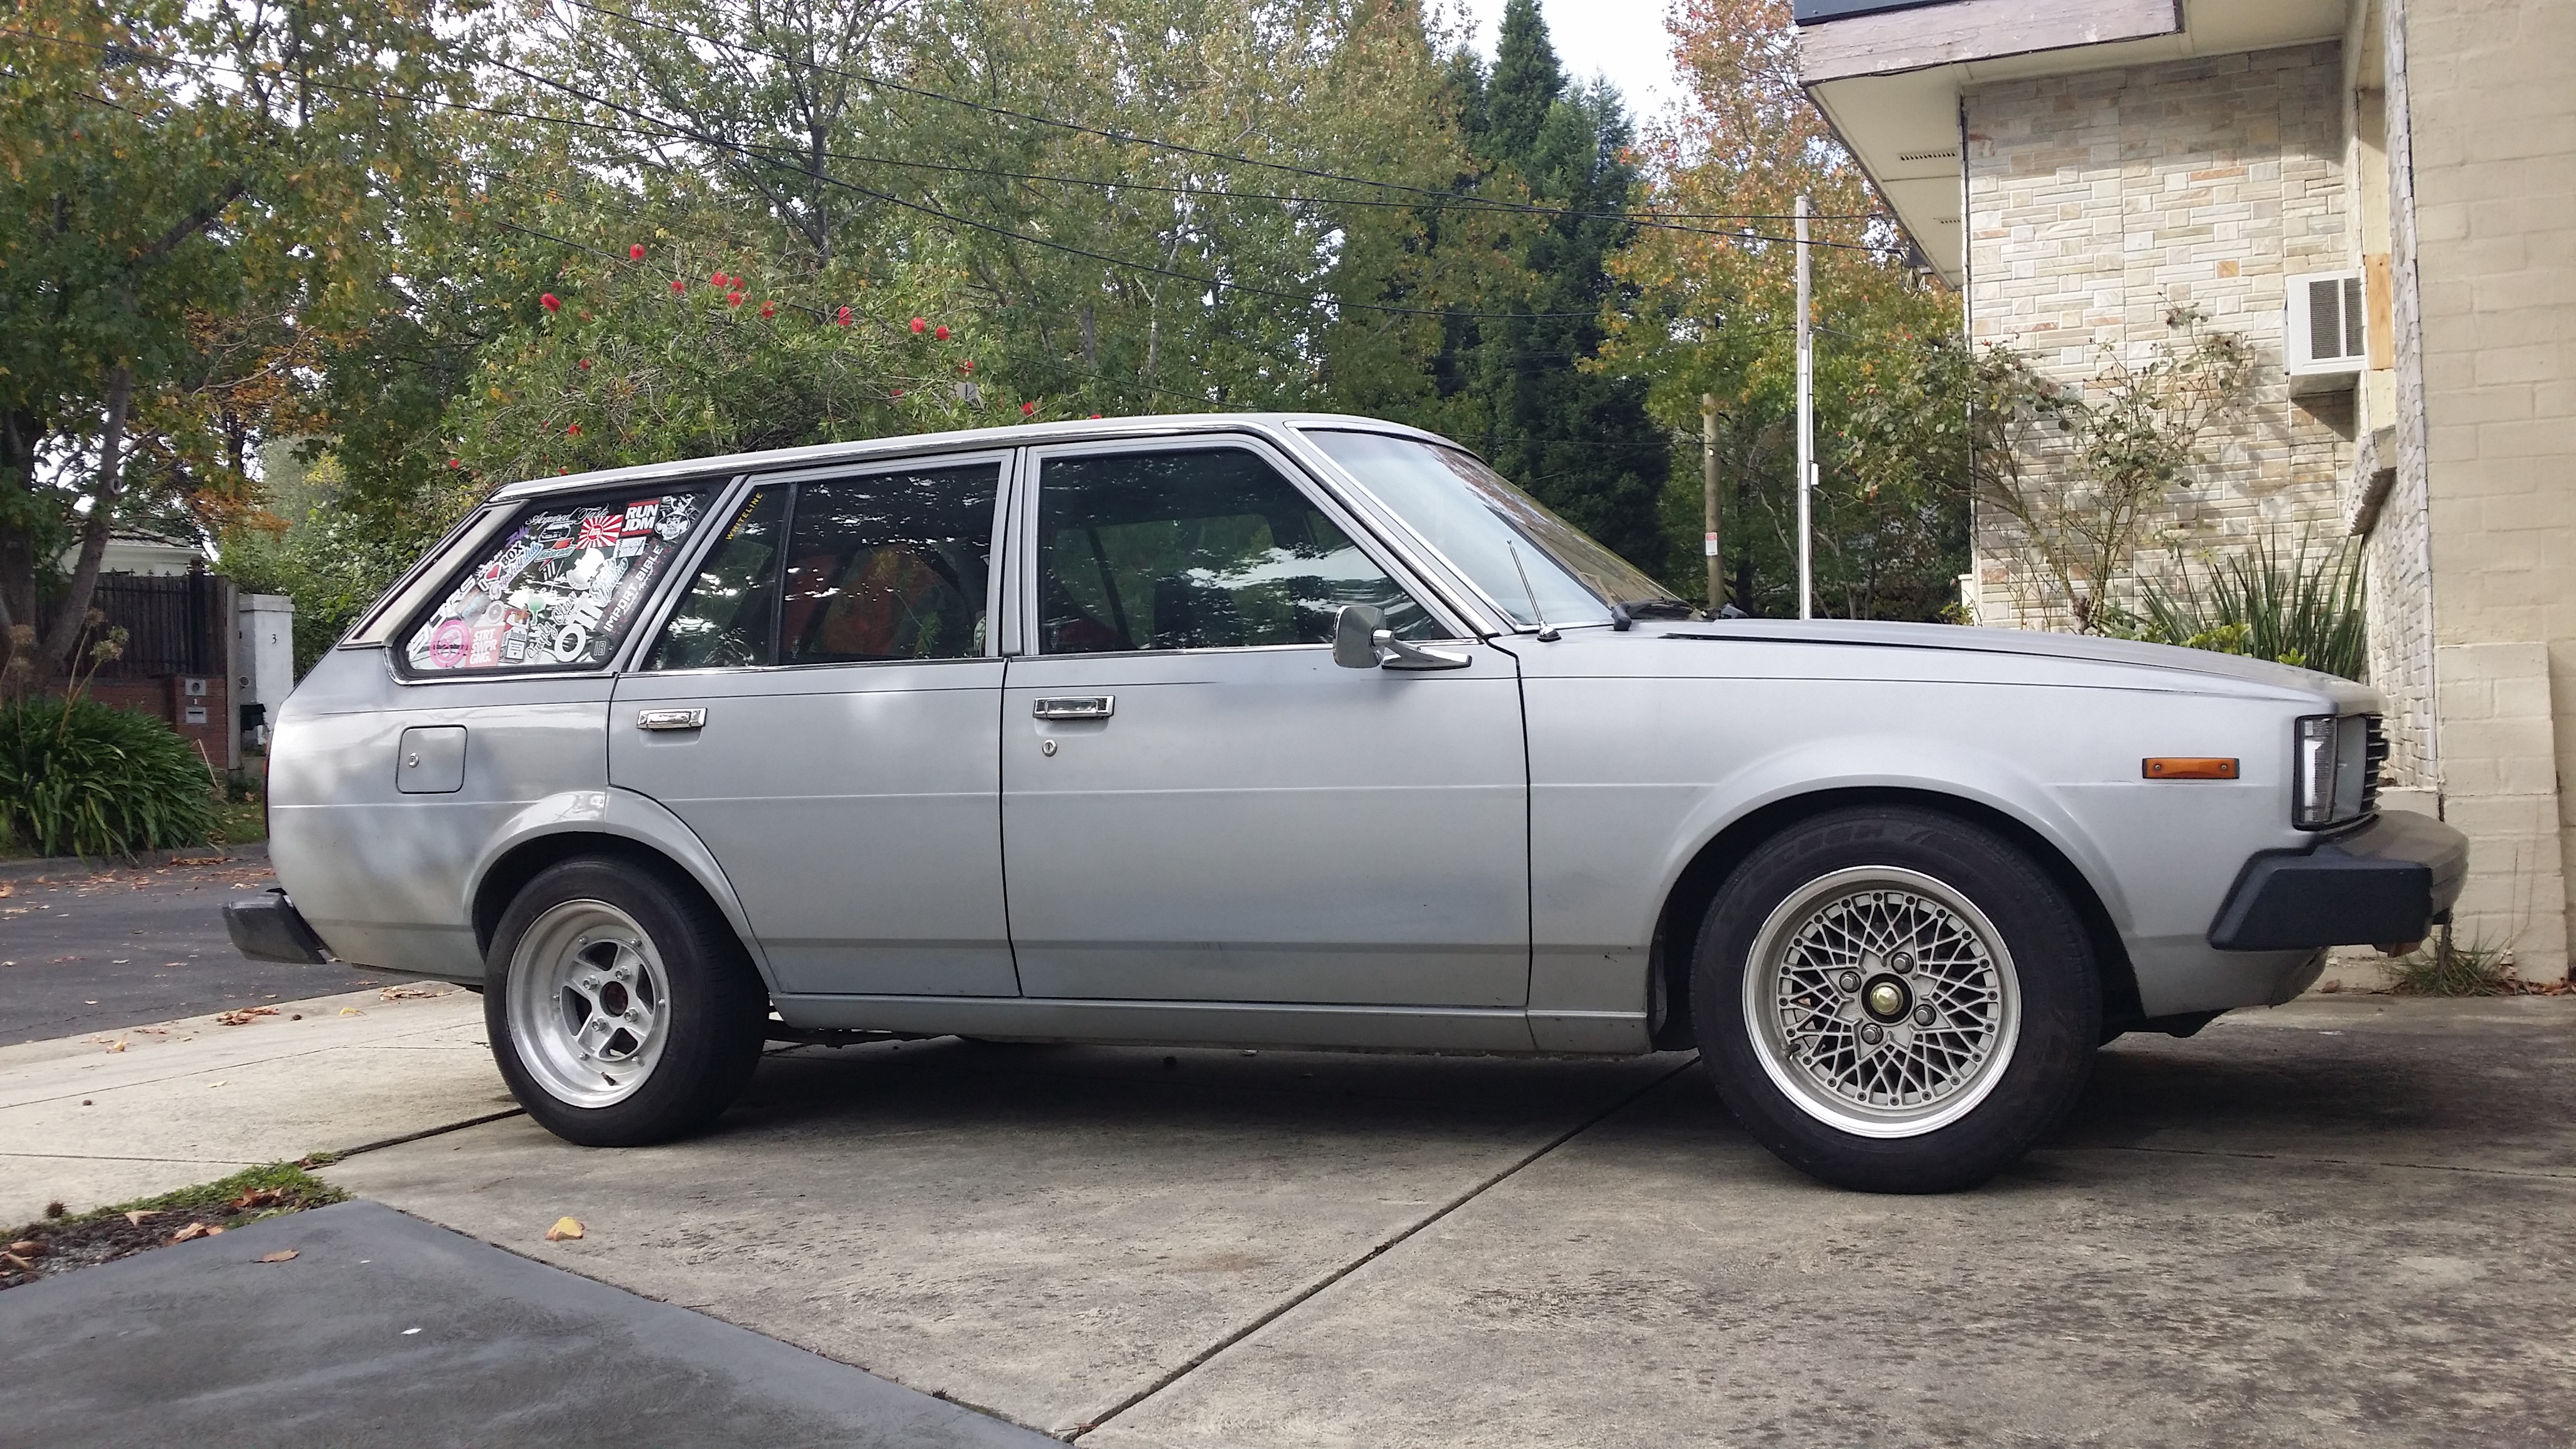
The final result, this time sitting on a set of 14’s, but the ride height is fairly level front to back now. Once the front suspension is completed DIY #2 will be done and will focus on the suspension change as well as brake upgrade and increased camber.
Cheers for taking the time to read… D
